I can't stress enough the importance of good lighting. I don't even know where to begin because there are so many reasons why it's so important.
When I have good lighting in my pictures it's amazing how much better they look, the color is better, it's a sharper image, it's more flattering on the person, helps make the eyes pop more, and makes editing that much easier. You can't fix bad lighting in photoshop, so a lot of times if it has bad lighting I don't even bother to try and fix it on PS.
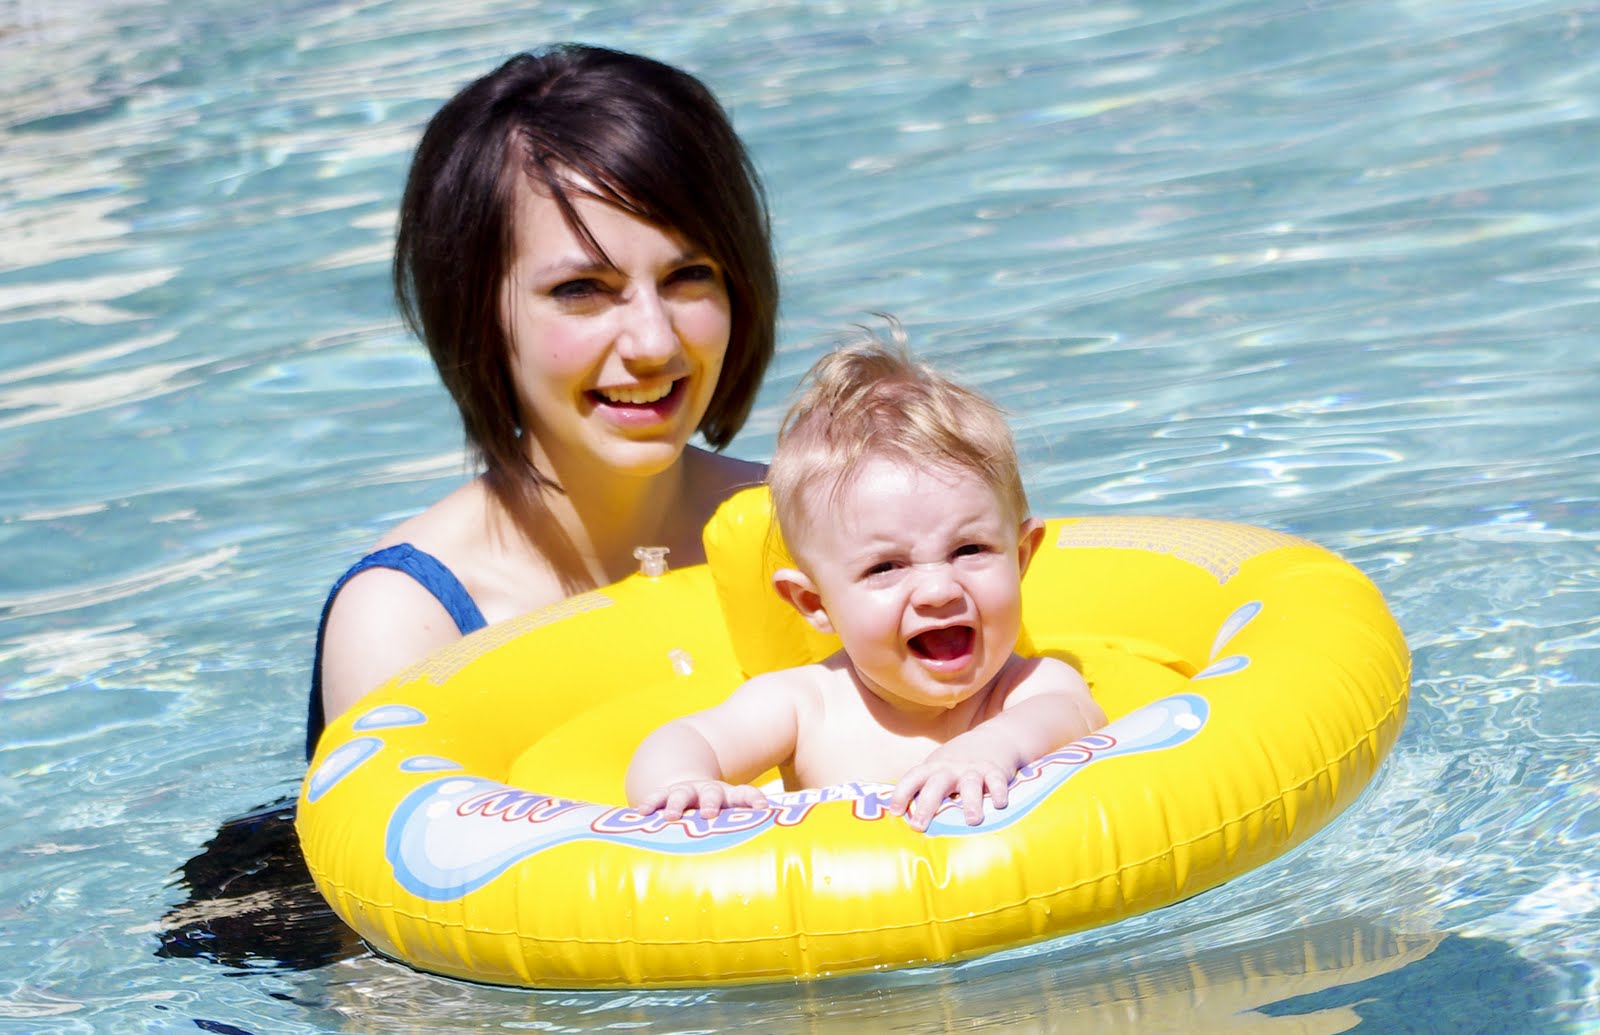
EXAMPLES OF GOOD LIGHTING:
 |
| This picture was taken mid day outside. |
 |
| This picture was taken on our bed, with plain wall in background, and I just had our screen door open to get good lighting. |
EXAMPLES OF BAD LIGHTING:
(Exclaimer: I still like these pictures, like the New York one is one of my favorite family pictures of us, but I'm just demonstrating what I'm talking about. Also I want to say do not take a picture because the lighting is bad and miss out an opportunity of a great picture for memories sake, I used to worry so much about getting "the perfect lighting" that I missed out on a lot of good pictures, and like I said I still like these pictures, but I'm just talking about how to get that more "professional" and flattering look.)
 |
| This picture Thomas and I are squinting so it's not the most flattering. |
 |
| This one isn't too bad, but there are weird shapes on Thomas' face. |
 |
| This one Thomas and I are squinting, and Dustin is a perfect example of what I call the Raccoon eyes, I have it too, and you can see how big my nose is ;) |
HOW TO GET GOOD LIGHTING INDOORS:
To get good light indoors can be tricky especially if you don't have a nice setup that professional photographers have. So OPEN those windows, and put your subject in front of that window so they are facing the window,that is the most flattering lighting, because it sort of flattens the persons face, and what do I mean by that? Let's say your model has a big nose, well that nose can cause a nice cast shadow and that will emphasize the nose. So having them face the window takes away all the shadows leaving a more flattering picture. You don't always have to have them face the window, you can have them to the side of the window, which can cause some shadow on one side, but that can be an interesting effect on the face.
 |
| This picture they were facing the window. |
 |
| The window is on the side, but still good lighting (for the most part). |
 |
| I know I just said have your model facing the window and not away, but sometimes you can get away by breaking the rules. Here it was a well lit room, and with the camera I knew how to over expose so he wasn't a dark shape. |
 |
| Again facing the window. |
HOW TO GET GOOD LIGHTING OUTDOORS:
The best time to take pictures outdoors is a few hours after sunrise or few hours before sunset, it's called the "magic hour" I once heard a photographer say, that's the best lighting because it's not too bright and it's even lighting which helps with the lighting on the face. But sometimes you don't have the option to do take pictures during "magic hour", most weddings are during the day, or other activities, so what do you do? You can have the model in the shade, so the sun is not blaring in their face making them squint and have dark shadows around their eyes. Some great places for shade are trees (but make sure there is not sunlight sneaking through the leaves causing weird shadow shapes on the models face), by buildings, or anything that causes shade.
 |
| This picture was taken mid-day in bright sun, but I had Dustin and Thomas go by a building so they were in shade and also it gave a nice background. |
 |
| This picture was taken in mid-day and he's under a bunch of trees, and luckily he didn't have weird shadows on his face, so it worked out. |
 |
| Again, bright sunny day, but they were under an umbrella so there were no strange shadows in their faces. |
GET TO KNOW YOUR CAMERA!:
This is a whole another subject, but I just want to say knowing how to use your camera, I'm more talking about DSLR cameras but all cameras can apply, is the best thing for you. When I first had our camera I barely knew how to use it, so when it was low lighting setting all my pictures were blurry and dark, but now I know how to set my camera so that doesn't happen.  |
| This picture was taken at night, but knowing what settings to use on my camera , and a tripod it worked out! |
HOW TO CREATE CREATIVE BACKGROUNDS:
There are many ways you can get creative with your backgrounds. A lot of the time I just use a plain wall, and if I want to later I will add a pattern on the background in photoshop like I used here:
(I'm planning on posting on how to do this sometime, or you can check on pinterest, that's how I learned)

But a lot of times I like the plain solid color.
Another great spot is using the garage wall, because with the garage door open and a nice solid background you can get some good pictures really easy.

Look at your suroundings, when we first moved here in Orlando, I was doing Thomas' 7 month pictures and we had all these boxes, so I just plotted him in front of one of them and loved how it turned out:

Instead of buying expensive backdrops, here are some ideas you can do and use:
 |
| The backdrop is wrapping paper from Walmart, $3 the most. |
- Shower curtains, you can get a nice sturdy one pretty cheap. (You get a nice black for cheap)
- wrapping paper, I've used this one, and it's dirt cheap, especially if you have extra just laying around.
- Create your own, I've seen people use newspapers, sticky notes, balloons.... I thought it would be fun to do old sheet music.
- Use a quilt.

The ideas are endless.
Anyway, I feel like I just touched a tip of an iceberg on these subjects, so if you want to know more, there is A TON of info on the web. I will sometime give some of my favorite sites that I read from.
Anyway there is my photography tips part 2.
Some subjects and techniques I will go over in the future are:
Plan Ahead, what's the story you want to tell?Good composition, rule of thirds.
Photoshop vs Lightroom (I'm still looking into that, but this might be a cheaper route if you can't afford PS)
How to Use Bridge on PS
How to use Lightroom
How to brighten eyes, and fix blemishes
How to edit something out of a picture.
How to edit in general, make colors brighter, how to make it look vintage.
How to use PS actions.
How to add a patterned background or change background on PS.
and hopefully more if I don't get burned out!
Also if there is anything you want to know how to do, let me know and I will post something about it,
3 comments:
Thanks Jess! keep them comin :) love it!
Awesome post Jessica! I'm excited to read more!
Jess I am loving these posts! I need all the help I can get! love ya!
Post a Comment